Easter is almost here and it's time to do a little spring decorating. Making Easter eggs is always fun and like try out a new technique for creating them each year.
This year I made decoupage eggs using tissue paper and paper dinner napkins.
This is an easy project, but a little messy, so when I say easy, I don't mean a project you might want to try to do with the kids. You are likely to have sticky fingers and Mod Podge everywhere!

To make this rose covered eggs I used tissue paper that I found at the Dollar store (the kind of tissue wrapping paper that is generally used to stuff gift bags).
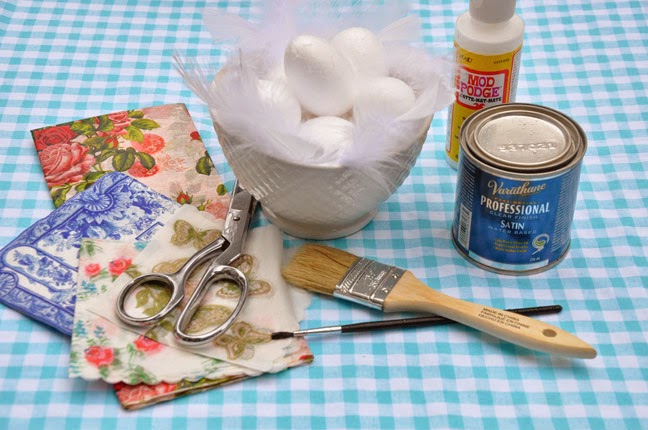
For this project you will need:
• tissue paper or paper napkins
• scissors
• a brush for applying the Mod Podge
• a flat sided brush
• Mod Podge
• styrofoam eggs
• Varathane (I used a latex, Satin finish Varathane that cleans up with water)
Here is the only tricky part: Most tissue paper and Japanese paper napkins are perfect for decoupage. Dinner napkins are however, 2-ply and are composed of two thin layers of paper bonded together. For decoupage, the thiner the paper the better. Fine sheets of paper allow the edges of your cutout motifs to blend into one another better. So to begin, you want to pull apart the two layers of paper on any dinner napkins you might want to use.

Start in the corner and work the 2 plys separate with your nails. Once you have worked the 2 pieces apart in the corner, it should be easy to pull the two sheets of paper apart.
Keep the 1-ply with your floral motif and discard the 1-ply of plain backing.
Cut out pieces of the decorative motif you've selected with your scissors.
Apply some Mod Podge to the side of your styrofoam egg with a brush.
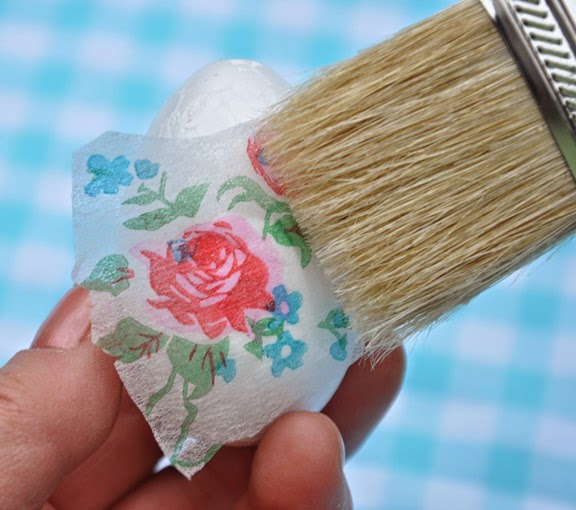
Place your cut out floral motif on the egg and work it flat into the wet Mod Podge using your fingers or a flat sided brush.
Apply further pieces until your egg is covered with flowers. Don't worry about the overlapping pieces of paper. This decoupage method is very forgiving and the edges disappear.
One last step! Finish one half of the surface of your eggs at a time with the latex Varathane. You can skip this final step if you don't want bother, but making the extra effort to finish the eggs will allow you to wipe them off with a damp cloth if they get dusty.

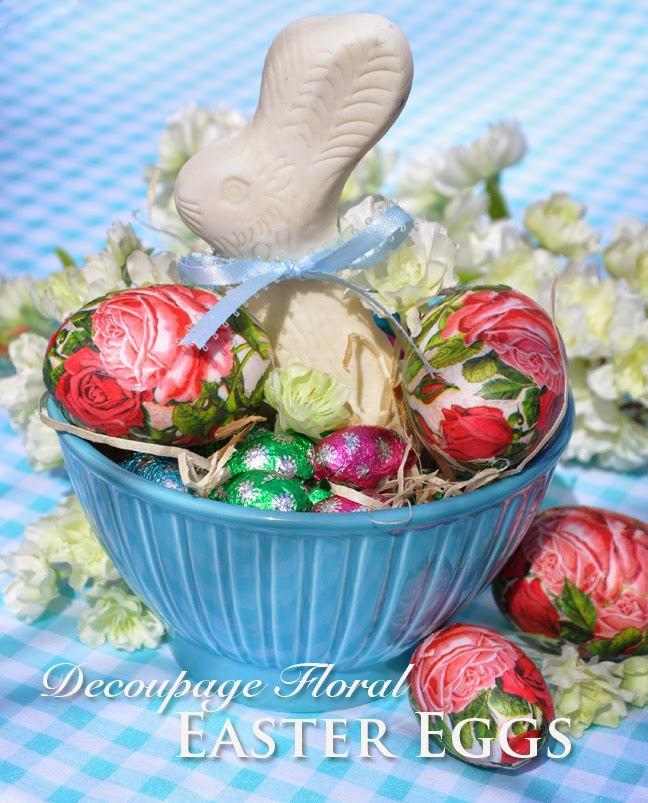
To make my little egg arrangement, I filled a little blue bowl with wood shavings and then placed a white chocolate bunny in the centre. To hold him upright, I surrounded him with foil wrapped chocolate Easter eggs.
I tied a bow around the bunny's neck, added my decoupage eggs and a few faux apple blossoms.

I used a Japanese paper cocktail napkin to make this butterfly egg.

The hyacinths in my floral arrangement are real, but the lily of the valley are faux flowers.

The Japanese paper was very thin, so it was great to work with. I picked up the bird nest
from Michael's Craft Store.

Next I tried using a dinner napkin with roses and blue butterflies.

The two white ceramic Easter bunnies were found at Walmart for under $10 each.
I dressed them up with blue bows.
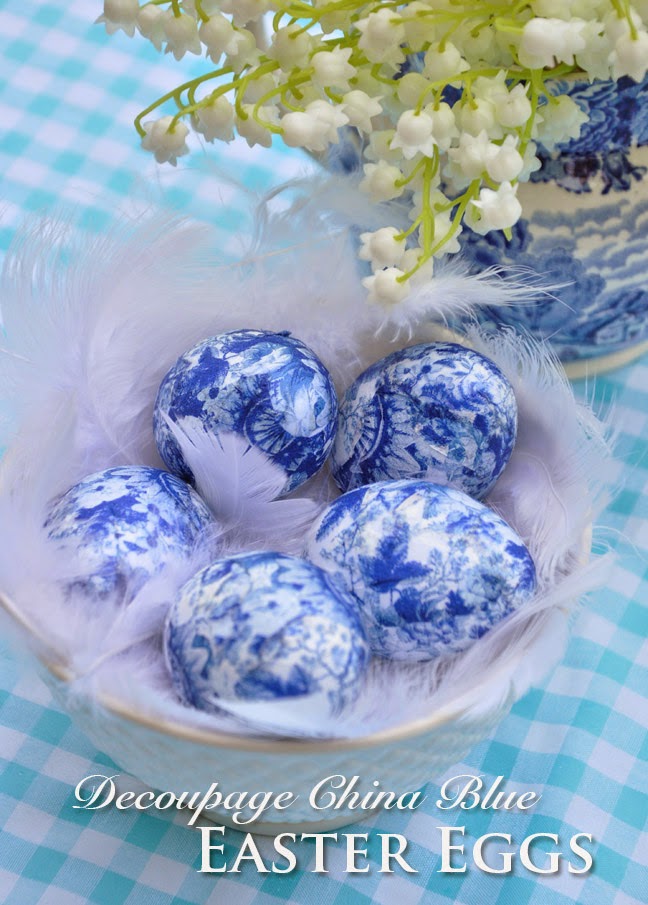
I've has some really pretty blue and white dinner napkins stashed away in the back of the cupboard for years.
I figured this was the perfect time to dig them out and do something creative with them.
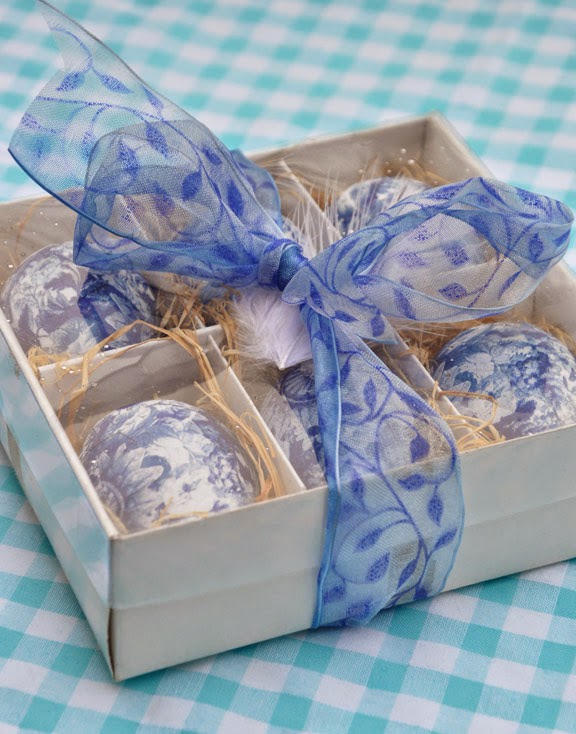
Boxed up with a pretty bow, I thought they might make a nice gift.

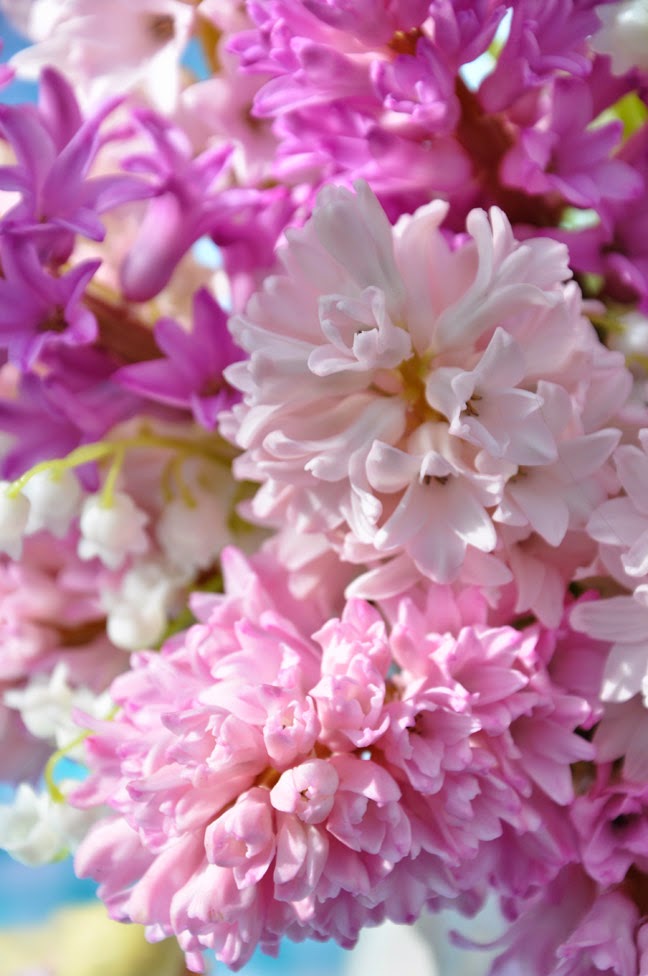
By the way, these pale pink and mauve hyacinths smelled positively divine!
Happy Spring decorating!
No comments:
Post a Comment