Tuesday, April 19, 2016

Faux-Succulent & Neutral Pistachio Nut Wreath


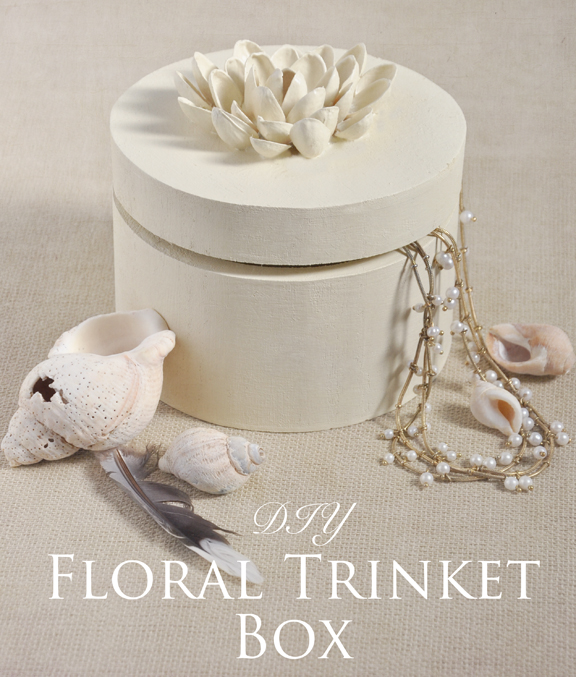
In my last post I showed you how to make florets with pistachio nut shells. In this post, we'll advance the technique and make a wreath.


To make the Pistachio Nut Wreath you need:

• Wreath form

• Low heat glue gun

• Glue sticks

• Pistachio nut shells

To make the Faux Sedum version of the wreath add these items to your materials list:

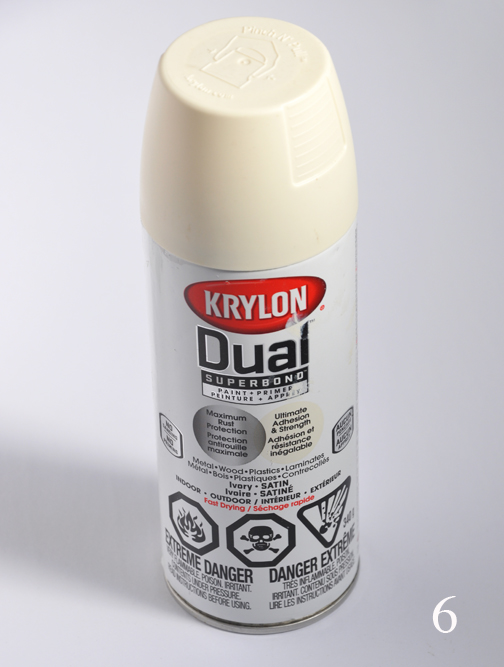
• 2 different colors of green multi-surface spray paint

• Small bottle of rose colored craft paint

• Paint brushes

• Old newspapers and some paper towel

• Mask (for protection from paint fumes while using spray paint)

A note about hanging your wreath:

Before beginning this project, you may want to give some thought as to how you want to hang your finished wreath. For my wreath I simply created a loop of heavy duty fishing wire. Alternatively, you might create a loop of decorative ribbon and tie a bow on the top of the ribbon. You could also fashion a hanger with some florist's wire.

Getting Started:


Step1: Eat some pistachios! Clean away any residual brown nut husks from the insides of the shells before you start your wreath.


2. Using the technique that you learned in the last post, make your first floret on the styrofoam wreath form.

3. Shift down and to the left and make a second floret. Move down again and slightly the right to make a third floret.


Step 4: Go back and fill in the spaces between the first three flowers with new florets. When you are finished shift down and make the next three florets.


If it makes it easier, you can take a permanent marker and make flower sized circles on your wreath to serve as a guide.


Continue working in a single direction around the wreath filling it up with florets as you go.


I am sure you must be wondering what happens on the sides of the wreath form. Create full florets where you can, but where you don't have the space available, make semi-circular florets instead.


One of the somewhat annoying things about working with hot glue is all the fine web-like strands of glue you end up creating. 

Clean away these little spider webs of hot glue with a soft paint brush. This is particularly important if you want to carry on and paint your wreath. The strands of glue will become more evident after you spray paint your wreath.

If you want to leave the wreath a neutral color, all you need do now is hang it!


Transforming your creation into a faux-succulent wreath is basically a matter of painting it.


I used two colors. One is a brighter green: #85082 Tropical foliage. The other is a dusty blue-green: 85084 Leafy Rise. If you can't find these exact colors, just look for greens that are similar.

The final painted look of the three colors together.

Move outdoors or to a well ventilated area. Lay down some old newspapers- this will get messy! Before you paint, put on a face mask, so you don't breath in any paint fumes.

Start with the bright green. (Tip: Shake the can to mix the paint really well.) Spray the whole wreath bright green. I moved around in a circle to spray the paint in a variety of directions. It may take a number of attempts before you have every nook and cranny of the wreath painted green.

Now comes the somewhat tricky artistic part of the paint process. (But I know you have the talent to pull it off!)

Take the other can of blue-green spray paint and spritz it lightly here and there. These should be short, uneven bursts of paint. Basically, you are accenting the wreath with this second color.

Switch back to the brighter green and spritz a few bright accents on top of the last blue-green layer of paint.


For the final step, add some rose accents to the green wreath. Many succulents have a blush of rose and that is the look you are aiming to imitate. 

To add these rose accents I simply used a bottle of rosy-pink craft paint.

The application of the rose paint uses a dry-brush technique. Put some paint on your brush. Now take a piece of paper towel and wipe most of the rose paint off the brush onto the paper towel. Then drag the "dry" brush across the surface of the wreath allowing the paint to catch here and there.

And that's it. Your done! 


Hang your finished wreath and enjoy!


Friday, April 15, 2016

Pistachio Florets: Using the Basic Technique to make a Trinket Box


My husband adores unsalted pistachios. He could eat the better part of a bag of them if I didn't stop him! 

When he done, there is always a little pile of the discarded beige shells. Poking around on Pinterest one evening I came across a idea for making florets with pistachio shells. It was just the inspiration I needed to get crafty.

Because I had lots of shells available, I came up with a wreath project that takes making nutty florets to a whole new level. Before I get to my wreath design however,  I thought it might to be best to demonstrate the basic technique for making pistachio florets with a simple project. Hence this little trinket or gift box project.


To make the Decorative Box you need:

• Either a cardboard or wooden box of your choice

• Low heat glue gun

• Glue Sticks

• Pistachio Nut Shells (clean and remove any residual brown nut husks from the insides of the shells before you begin)

• Multi-surface spray paint

• Mask (for protection while using spray paint)


How to:

1. Pick out three small shells. The hollow curved part of the shells always faces inward. 

Take your glue gun and make a small blob of hot glue in the centre of the box top. Place the three shells upright into the glue. You may have to hold the shells for a few seconds until the glue sets.

2. Make a semi-circle of glue to one side of the centre group. Into your semi-circle of glue, place three more shells at a less upright, slightly more open angle.


3. Make a second semi-circle of glue on the other side of the centre group. Into this newest arc of glue, place three more shells on the same angle.

4. To make the next row of petals, add yet another semi-circle of glue and use four shells this time. Relax the angle of these newest row of shells to be a bit more open. Use the same process to add four shells on the opposite side.


5. Keep building out your flower until you are happy with its size. (Tip: I tend to use slightly larger nut shells as I build out the flower.  The angle of the shells should get more and more relaxed and open as you reach the outer petals of your flower.)


6. Move outdoors or to a well ventilated area. Lay down some old newspapers- this is about to get messy! Before you paint, put on a face mask, so you don't breath in any paint fumes. Then use a multi-surface ivory spray paint (or color of your choice) to paint your box.


I kept my trinket box all one color, but you could always paint the flower a different color if you like. 
This floral box could be a perfect place to store earrings or bracelets. It could also make a great party favour or gift box.


Now that you have the basic technique down for making the florets, you may want to tackle a bigger project like this wreath.


I'll post full instructions shortly.


With a little paint you also have the option to create a faux-succulent version of this wreath.