My husband adores unsalted pistachios. He could eat the better part of a bag of them if I didn't stop him!
When he done, there is always a little pile of the discarded beige shells. Poking around on Pinterest one evening I came across a idea for making florets with pistachio shells. It was just the inspiration I needed to get crafty.
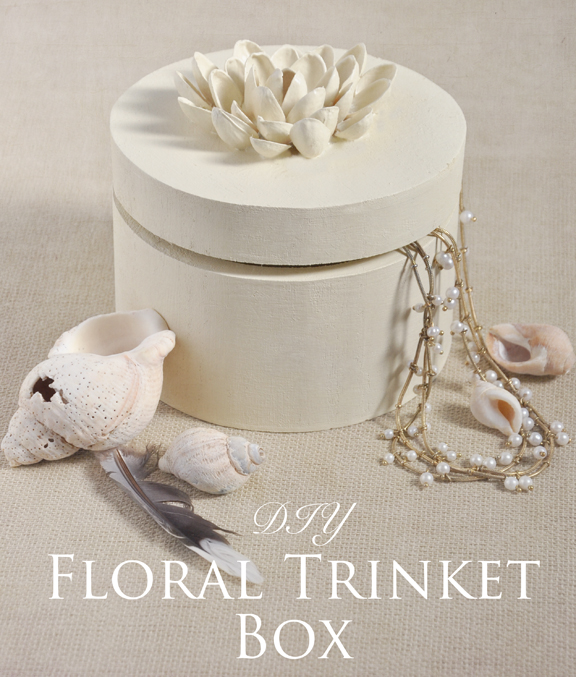
Because I had lots of shells available, I came up with a wreath project that takes making nutty florets to a whole new level. Before I get to my wreath design however, I thought it might to be best to demonstrate the basic technique for making pistachio florets with a simple project. Hence this little trinket or gift box project.

To make the Decorative Box you need:
• Either a cardboard or wooden box of your choice
• Low heat glue gun
• Glue Sticks
• Pistachio Nut Shells (clean and remove any residual brown nut husks from the insides of the shells before you begin)
• Multi-surface spray paint
• Mask (for protection while using spray paint)

How to:
1. Pick out three small shells. The hollow curved part of the shells always faces inward.
Take your glue gun and make a small blob of hot glue in the centre of the box top. Place the three shells upright into the glue. You may have to hold the shells for a few seconds until the glue sets.
2. Make a semi-circle of glue to one side of the centre group. Into your semi-circle of glue, place three more shells at a less upright, slightly more open angle.

3. Make a second semi-circle of glue on the other side of the centre group. Into this newest arc of glue, place three more shells on the same angle.
4. To make the next row of petals, add yet another semi-circle of glue and use four shells this time. Relax the angle of these newest row of shells to be a bit more open. Use the same process to add four shells on the opposite side.

5. Keep building out your flower until you are happy with its size. (Tip: I tend to use slightly larger nut shells as I build out the flower. The angle of the shells should get more and more relaxed and open as you reach the outer petals of your flower.)
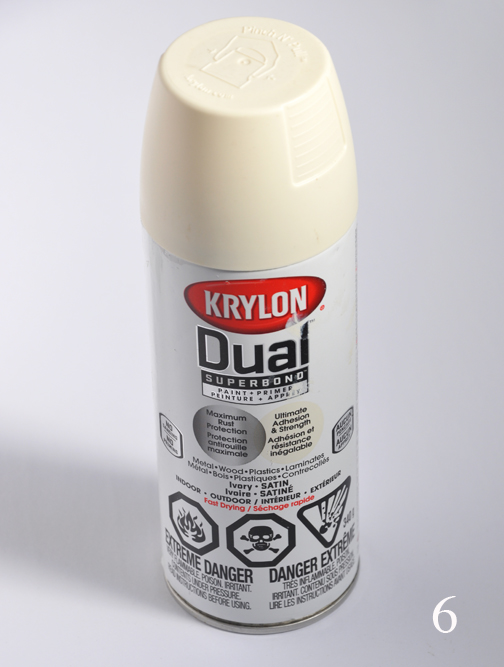
6. Move outdoors or to a well ventilated area. Lay down some old newspapers- this is about to get messy! Before you paint, put on a face mask, so you don't breath in any paint fumes. Then use a multi-surface ivory spray paint (or color of your choice) to paint your box.

I kept my trinket box all one color, but you could always paint the flower a different color if you like.
This floral box could be a perfect place to store earrings or bracelets. It could also make a great party favour or gift box.

Now that you have the basic technique down for making the florets, you may want to tackle a bigger project like this wreath.

I'll post full instructions shortly.

With a little paint you also have the option to create a faux-succulent version of this wreath.
No comments:
Post a Comment