
I've always wanted to make a birdcage planter for my front porch. This Victoria Day Weekend I finally got the job done! Here's how I made it:
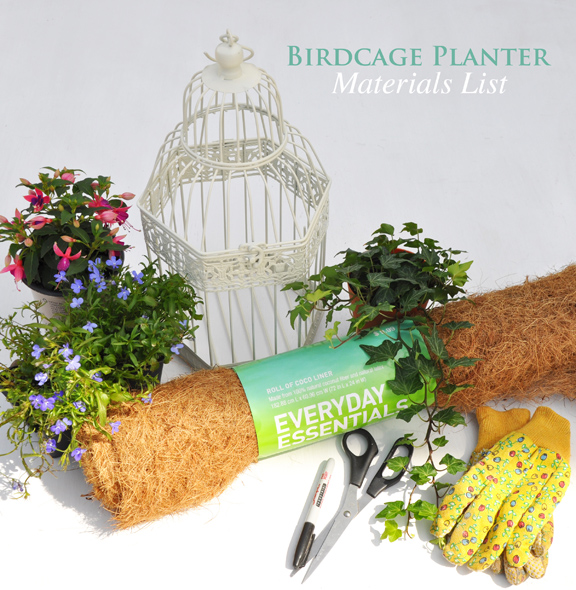
What you need to make this project:
• Decorative birdcage
• A selection of shade annuals: I used 3 small pots of ivy, one plug tray of trailing lobelia and one fuchsia
• A large bag of dried green moss (not shown above)
• A length of dried coconut liner
• Potting soil
• Scissors
• Permanent marker
• Garden gloves

Just a quick on the birdcage. Select a birdcage with a wire rather than solid bottom, if you can. The wire bottom will allow better drainage. I also chose a birdcage that opened from the top and came with a hook for hanging the finished planter.
Messy project warning: This project does create a bit of a mess, so work outside or somewhere inside that will be easy to clean up afterward.

Step 1: Roll open a length of the coconut liner. Place your birdcage on top, and with a permanent marker, trace the outline of the bottom of the cage.

Step 2: Cut out the shape of the birdcage with your scissors. Open the birdcage and place the coconut liner at the bottom of the cage.

My first idea was to use the coconut liner for the sides of the birdcage planter, but I found it cumbersome to work with in the tight space available inside the birdcage.
So to protect the roots of my plants and to fill in the sides of my planter, I used a bag of dried green moss that I purchased at the craft store. Moss makes the sensitive skin on my hands itch, so when working with it, I always use gloves.
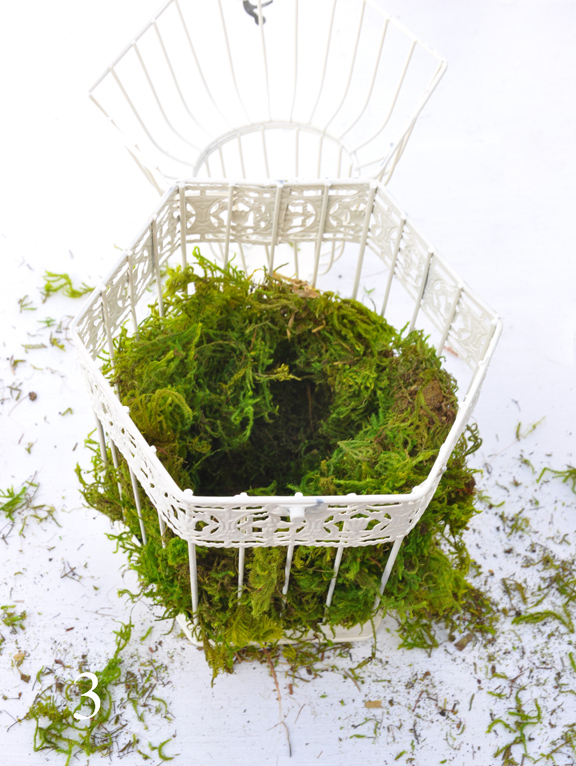
Step 3: Working with the moss is where this project starts to get a bit messy.
With your birdcage open, begin to pack a thick layer of moss around the bottom two inches of the birdcage. Be generous with the moss! You don't want the soil in the birdcage to drain away every time you water the planter.
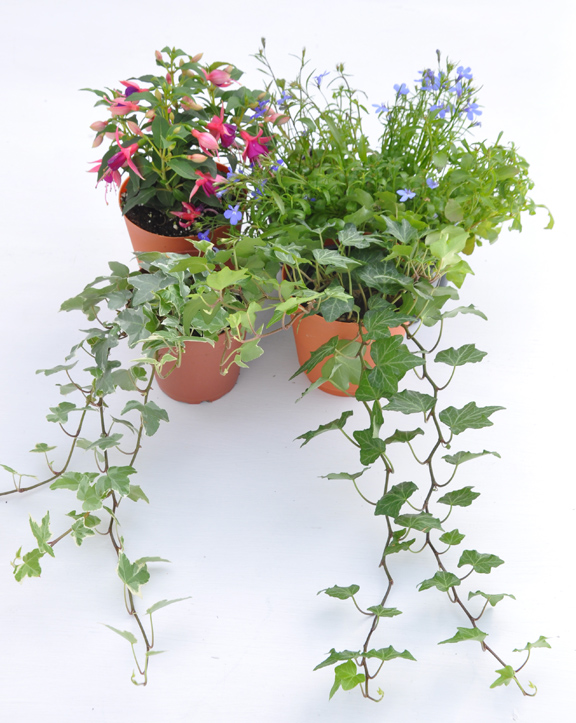
Now you are ready to incorporate the first of your plant materials. I wanted to hang my birdcage on my front porch, so I chose plants that would be happy in part-shade: ivy, trailing lobelia and fuchsia.
If you wanted to make something similar for sun, try a full sun vine instead of the ivy. For the flowers you could also use petunias, a small trailing geranium or any other full sun annual of your choice.

Step 4: To begin the planting, start with the small plugs of trailing lobelia. I found it easiest to place the root ball of the lobelia inside the birdcage first and then work the tailing stems of the lobelia gently through the birdcage bars.
Once you have added the lobelia, put another half inch or so of moss on the sides of the cage. Place the ivy root ball inside the cage and tread the ivy through the bars of the cage as you did with the lobelia. Once the ivy is in place, build up the sides with the moss about another 3/4 of an inch. Add the small fuchsia to the centre of your planting.
Fill an spaces between the plants with potting soil.
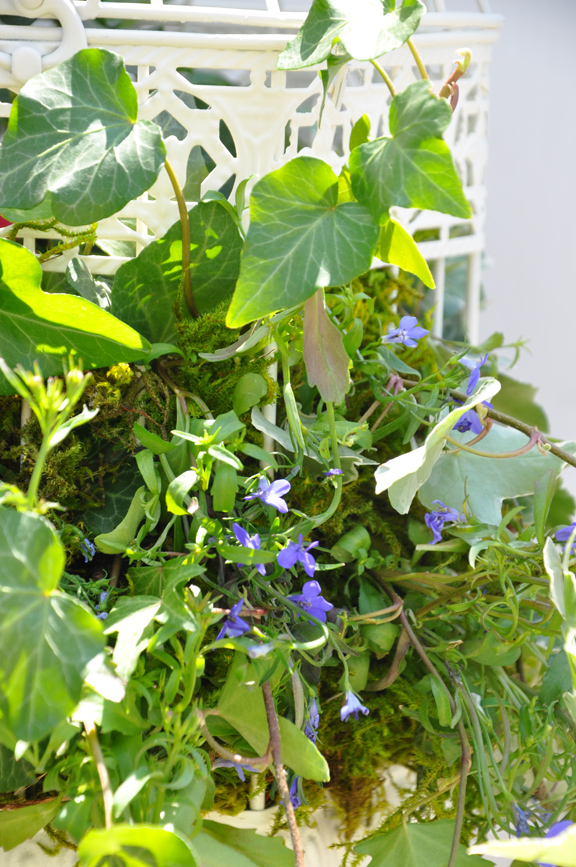
Step 5: Next, hang up your cage, so you can see the sides clearly. Fill any gaps with moss. Don't discard any surplus moss! If any gaps appear with repeated watering, add a little of the surplus moss to fill any gaps.
Step 6: With a light spray of the garden hose, give the birdcage planter a good soak.

Hang the birdcage and enjoy!